CDC infection-control guidelines
All bin walls are flat, vertical, fully wipeable surfaces — no horizontal ledges that collect debris. Per CDC Guidelines for Infection Control in Dental Health-Care Settings.
HOW THE SYSTEM WORKS
Built from the same guidelines your practice is measured against — not adapted from a generic template.
01 — DESIGN BASIS
Every design decision has a clinical reason behind it, built from primary sources.
All bin walls are flat, vertical, fully wipeable surfaces — no horizontal ledges that collect debris. Per CDC Guidelines for Infection Control in Dental Health-Care Settings.
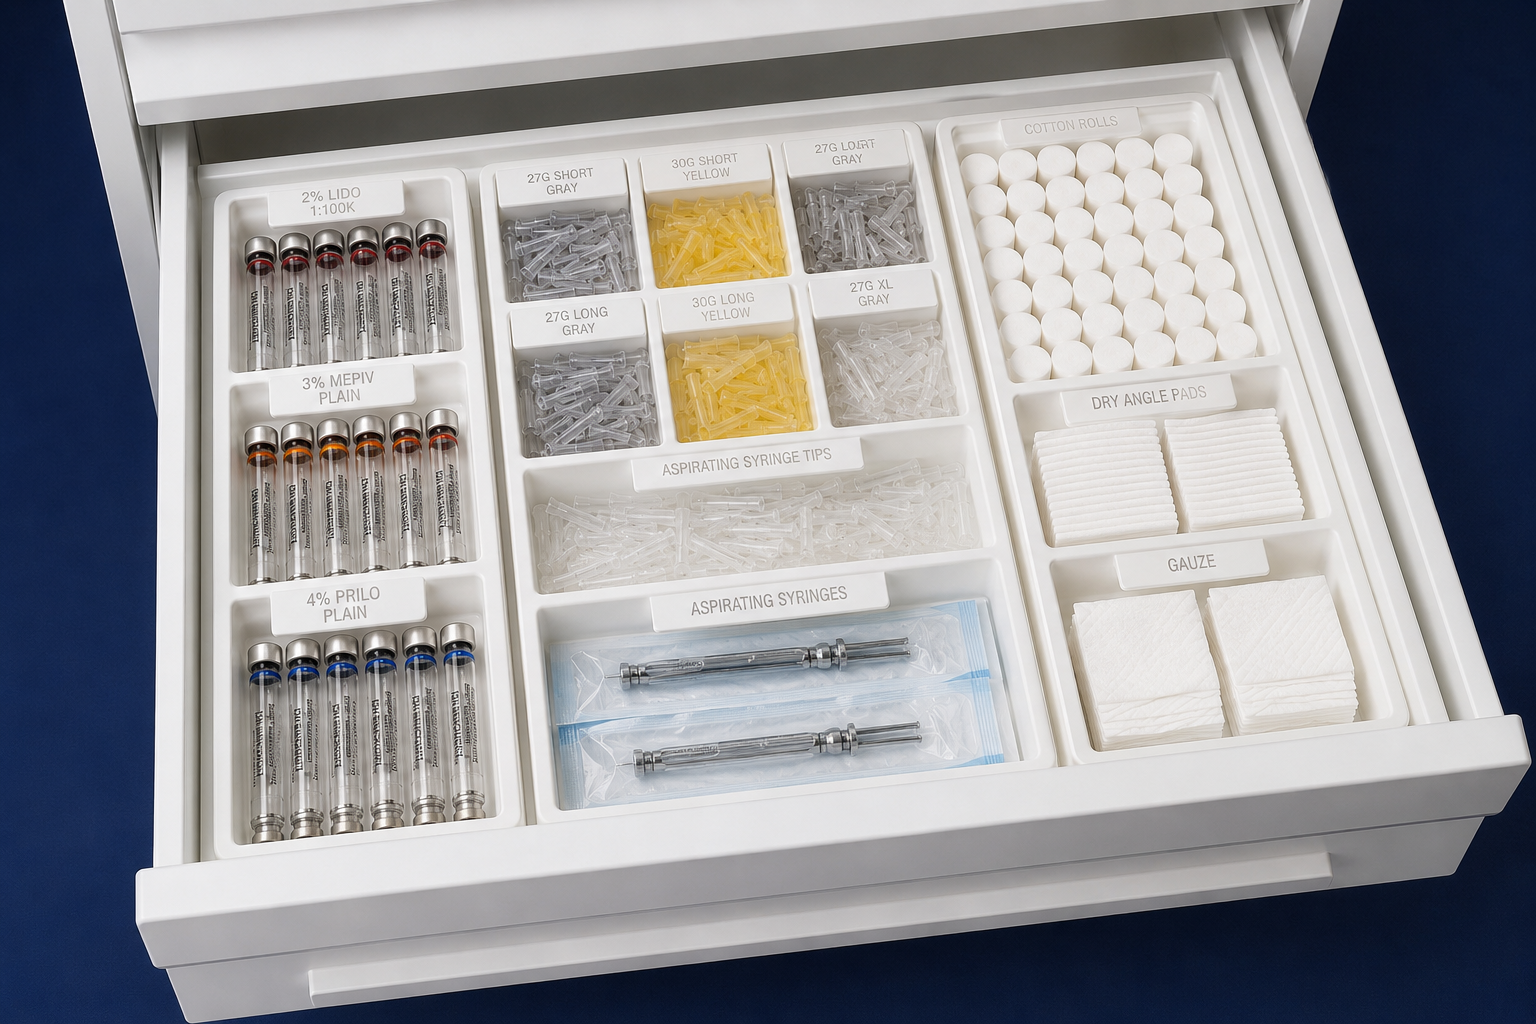
The most frequently reached items — dry angles, cotton rolls, gauze — sit at the front of the drawer, in the assistant's shortest-reach zone.
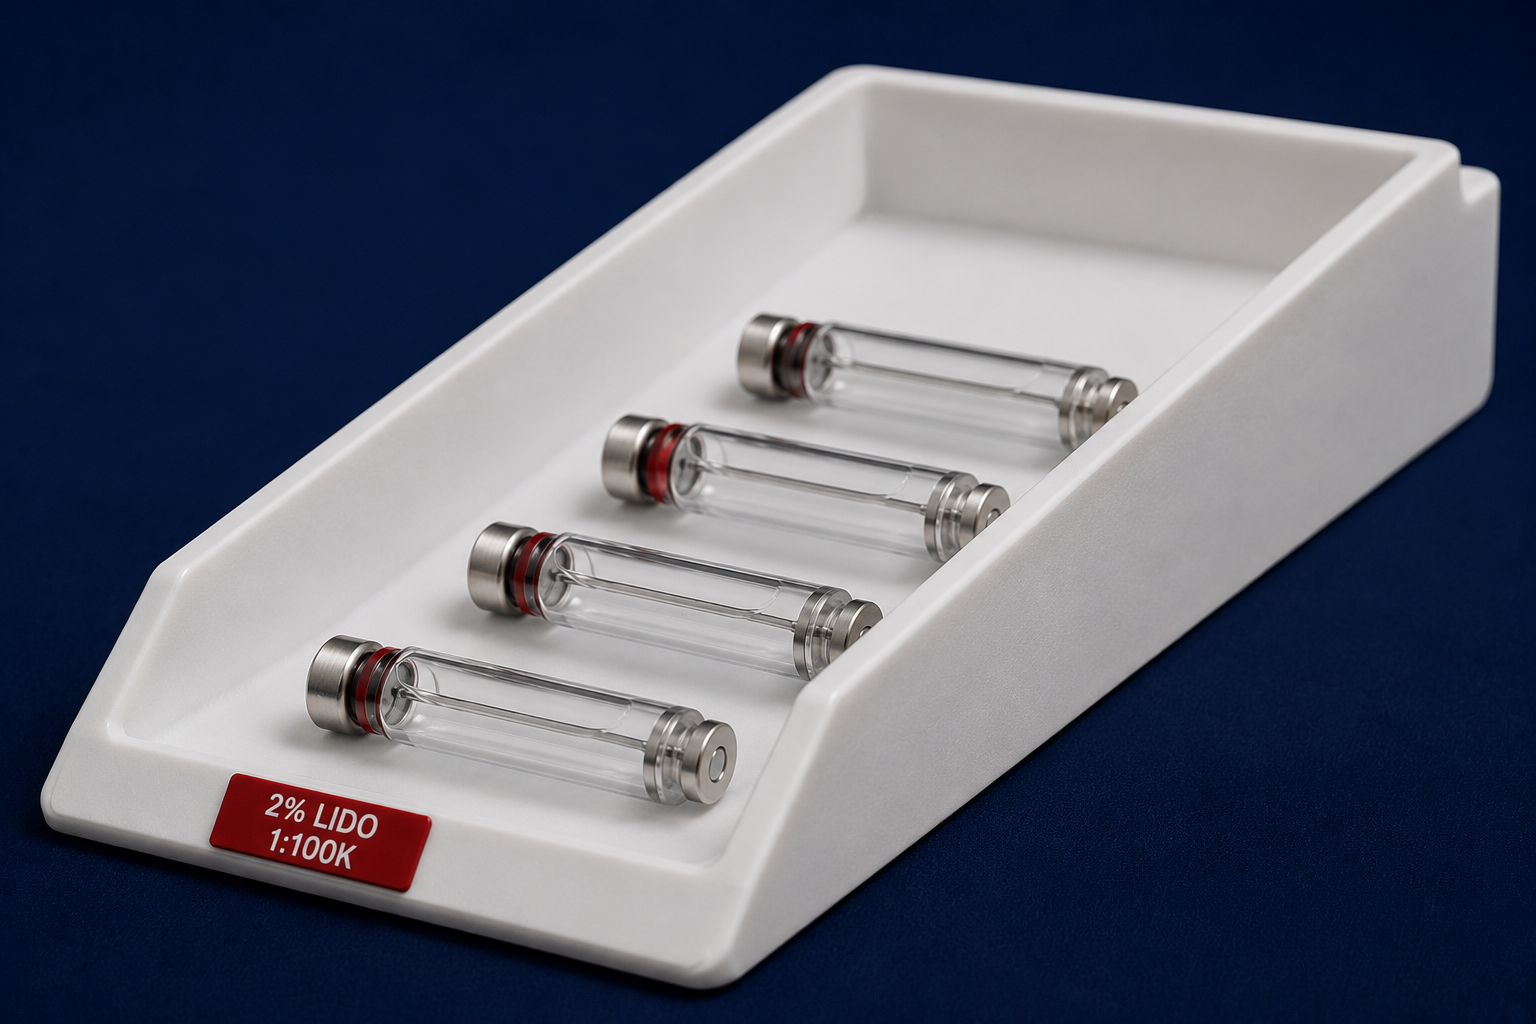
Carpule bins have a ramped floor so the oldest carpule is always at the front. No expired anesthetic buried under a new order.
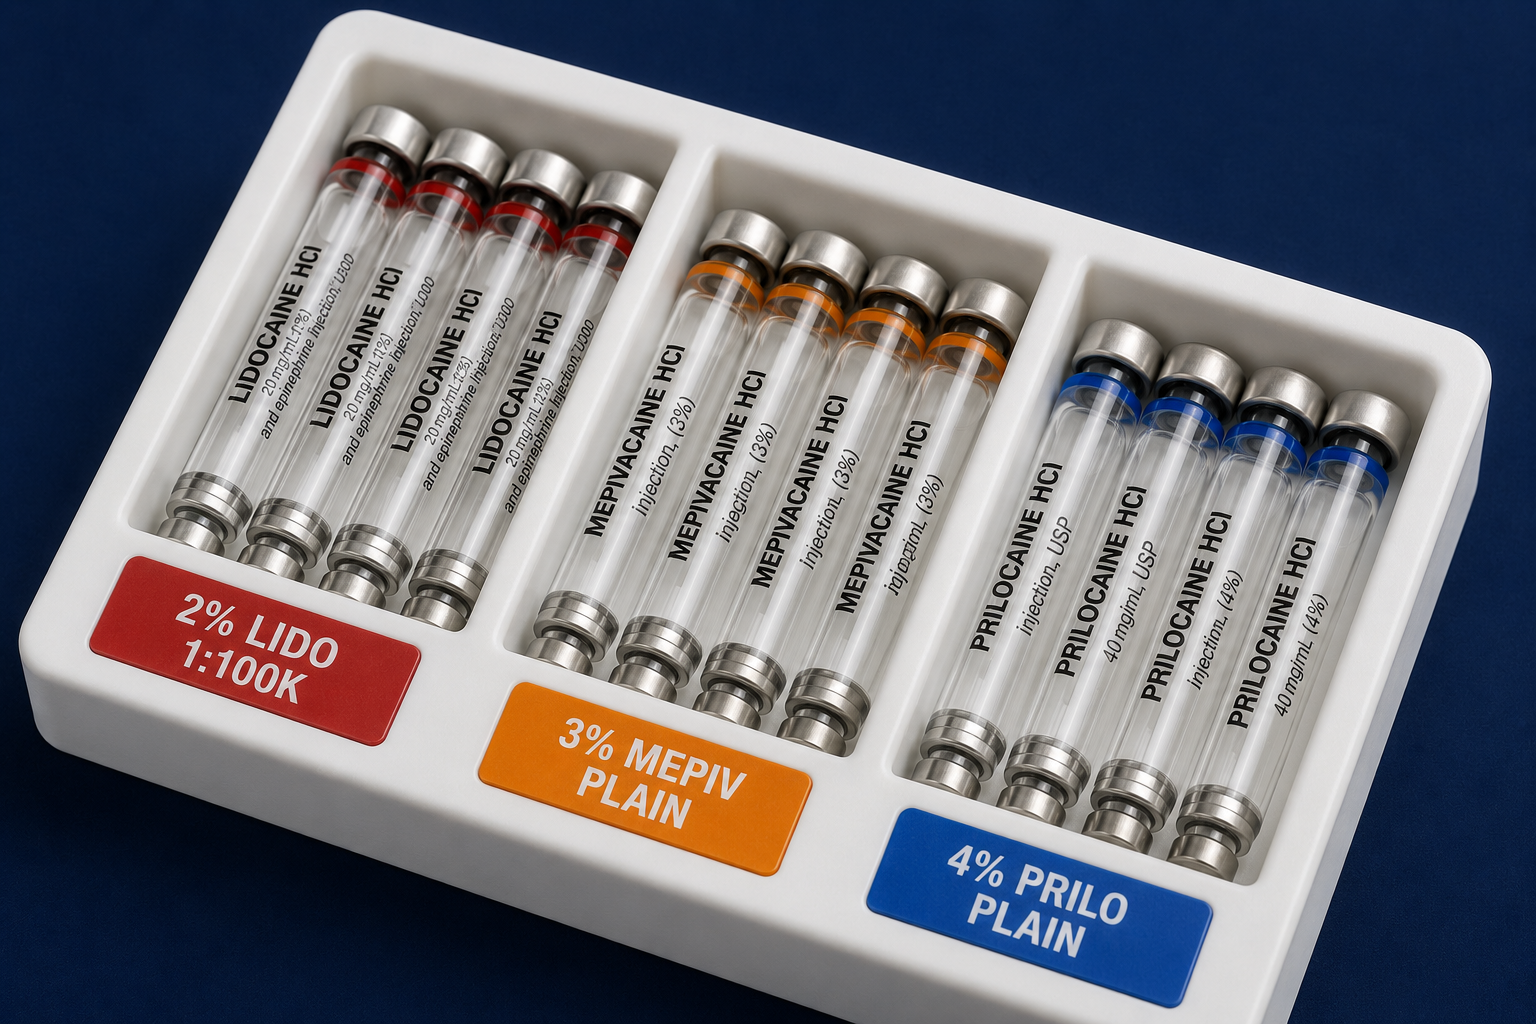
Lidocaine with Epinephrine and Plain Lidocaine live in physically separate, labeled bins. Mixing is not possible.
02 — THE PROCESS
STEP 01
A 15-minute walkthrough of your anesthesia drawer: what you store, how staff access it, where the friction points are. No commitment.
STEP 02
Precise interior measurements — width, depth, height — plus a full inventory of every supply item that drawer stores.
STEP 03
A zoned insert is designed in Fusion 360 with labeled compartments for every supply category. You approve the layout before anything is printed.
STEP 04
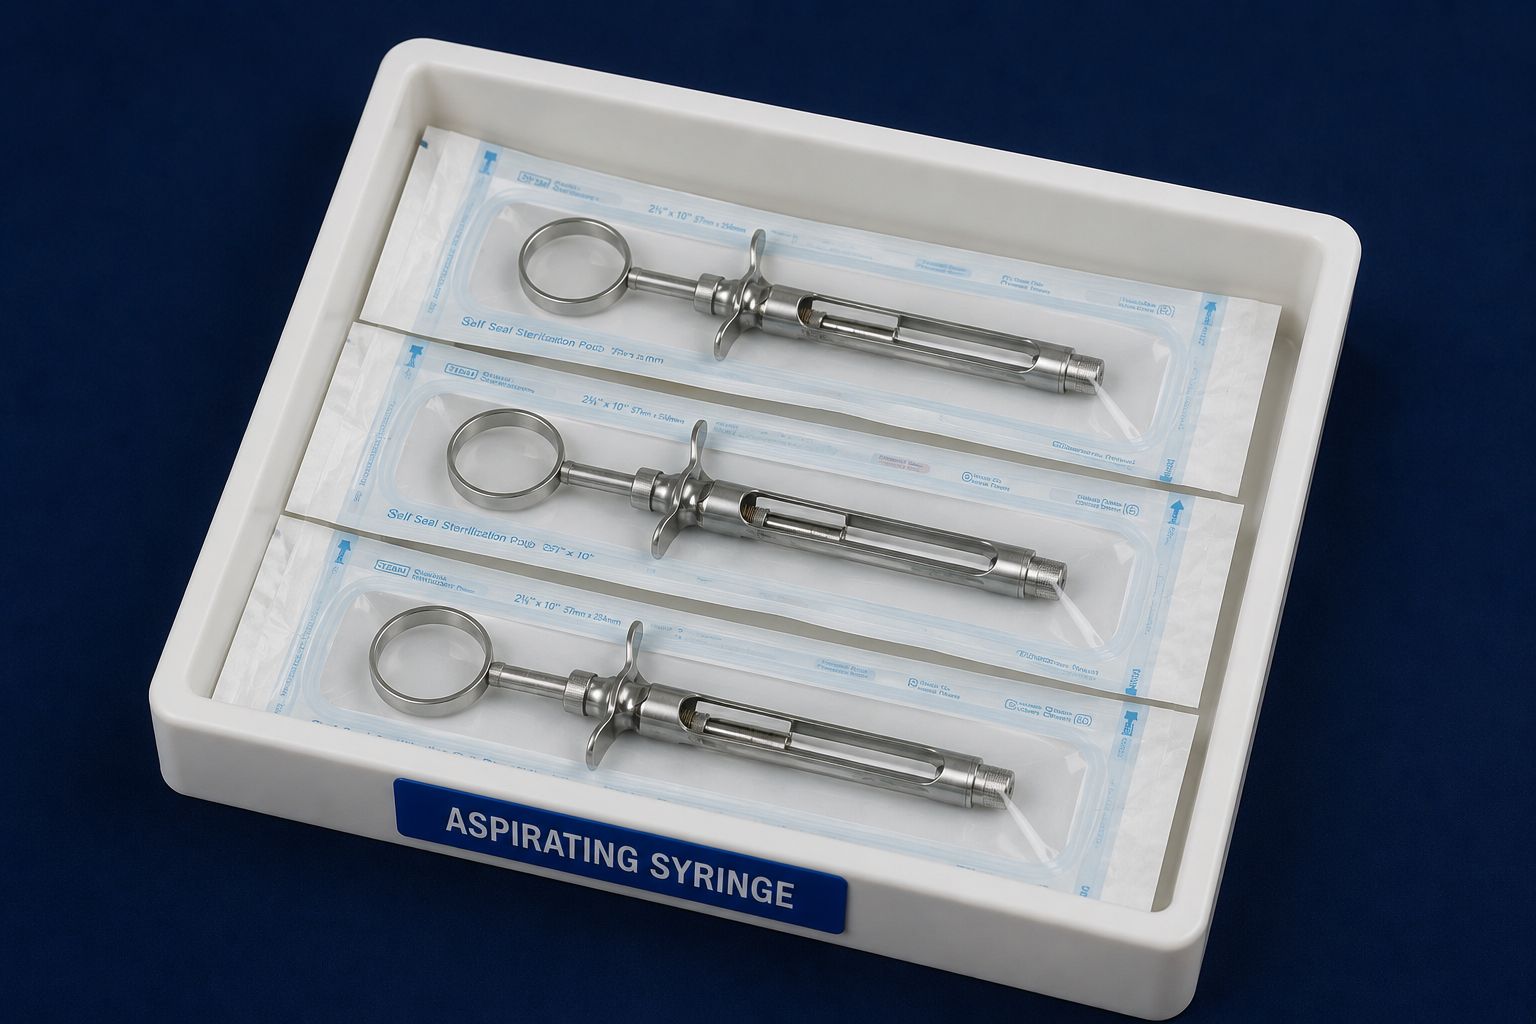
Printed in clinical-white PLA on a Bambu P1S with color-coded label tabs per drug category. One rigid, seamless piece — no joints, no glue.
STEP 05
Secured with 3M VHB tape and a front friction lip — no drilling, no permanent modification. Removable for deep cleaning. Under 20 minutes.
STEP 06
A laminated reference card covers the FIFO restocking sequence and the location of every supply. Any staff member can flip a room without reorientation.
03 — WHAT IT HOLDS
Designed for the 3 operatory drawers that do real clinical work — not all 10.
The audit is free, takes 15 minutes, and shows you exactly what your setup is costing you in time and risk.
Book Your Free Audit →